Let's Make a Twisted Cord
I love to make twisted cords.
They can be made from a variety of threads and even yarn.
I have used threads ranging from sewing thread, machine embroidery rayon and stranded embroidery thread through various crochet threads to knitting yarn. My favourite thread to use is Number 5 Perle thread. It comes in a large rainbow of colours and even some variegated options. Perle thread makes beautiful cords and is easy to twist into sturdy cords.
OK, let's get started.
Firstly, select your thread. You will need lengths of your chosen thread that are about 2.5 times the finished length you want for your cord.
I always cut at least 4 lengths of my chosen thread for a cord, but you can have more. To get an idea of how thick the finished cord will be, fold the lengths of thread on themselves and twist them as shown in the photo below.
If this is thick enough, you are ready to make your cord. If it is too thick, take 1 or more strands out of the collection. If it is too thin, add more strands and check again. When you are happy that you have enough strands, tie a knot at one end to secure all of the strands together.
Thread a smooth ribbon or cord through the loop above the knot and tie the ribbon around a secure anchor point. I have used the back of one of my dining chairs. A door handle on a closed door is a good option too.
Check that you have enough room behind you to extend the entire length of the thread. Hold the strands between your thumb and index finger as shown below.
Twist the cord by rolling the strands towards the tip of your index finger. As you repeat this process, the strands will twist together.
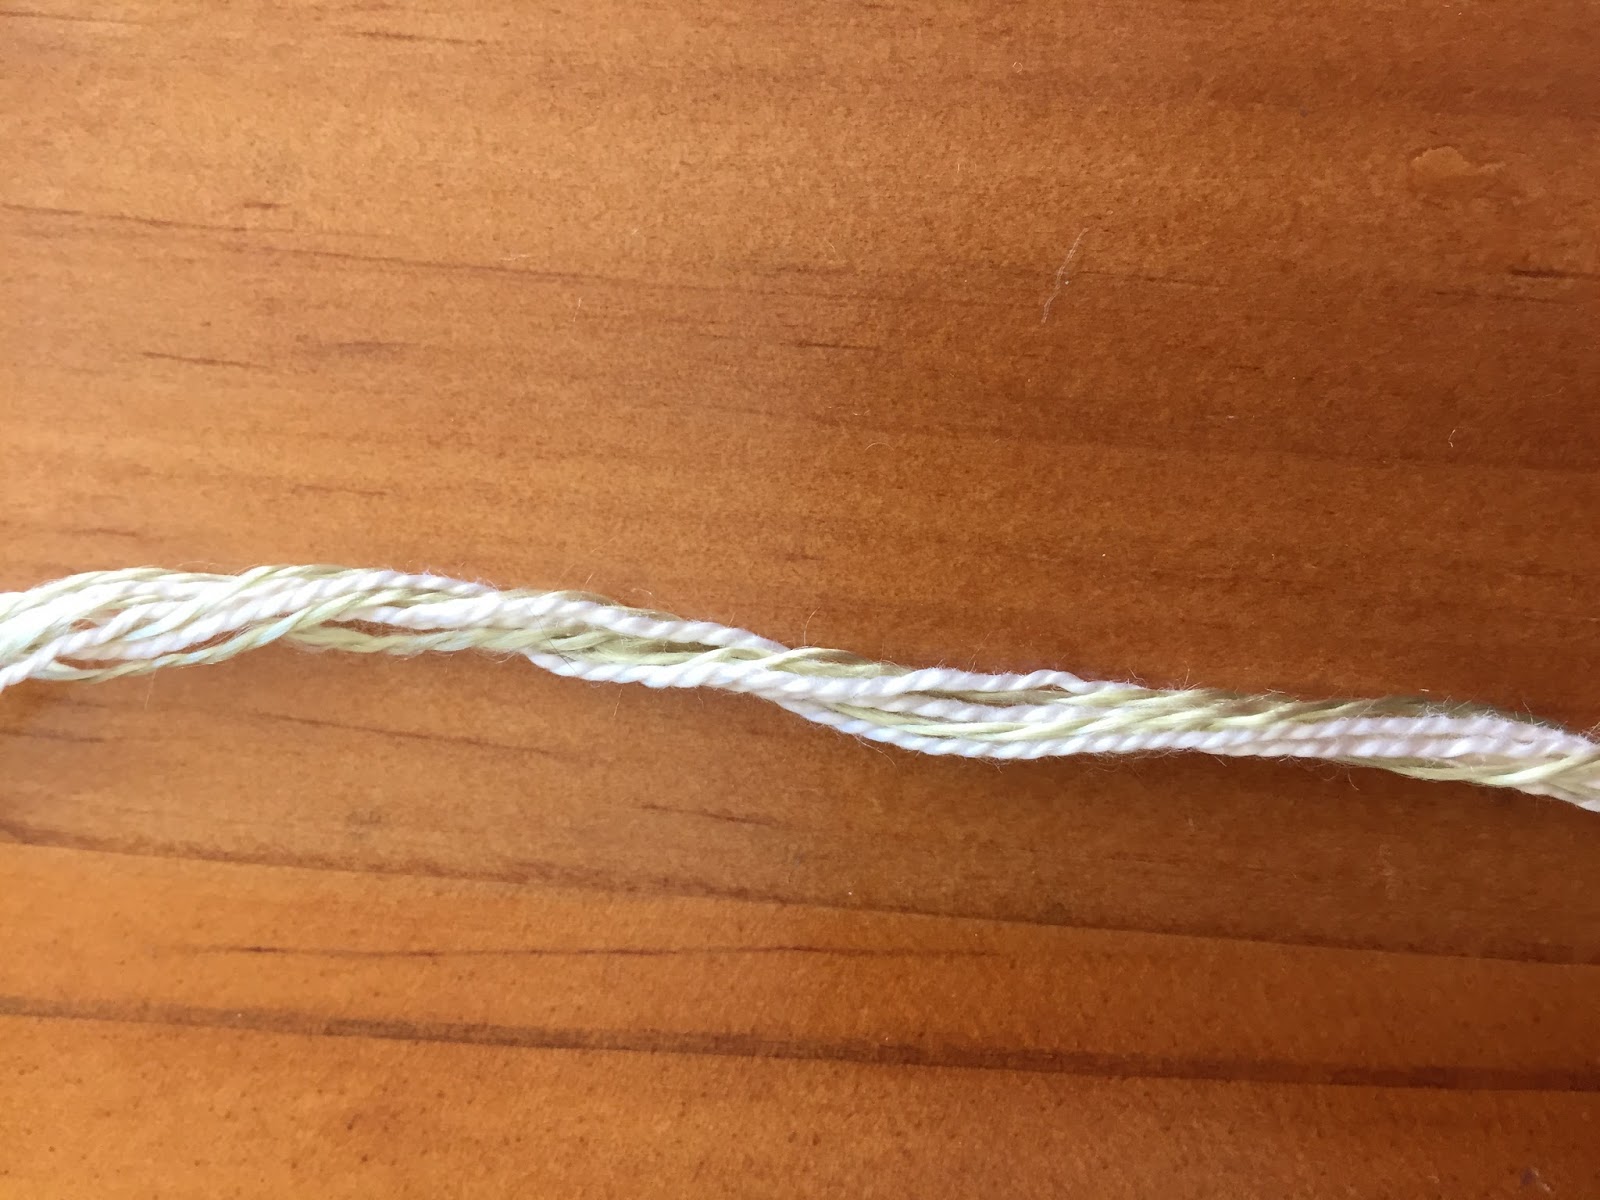
Continue to twist the strands, keeping tension on the strands to keep them stretched away from your anchor point. To test if there is enough twist in the strands, gently decrease the tension on the strands. If there is enough twist, the strands will double up on each other as shown below.
Increase the tension on the strands again and continue to twist the strands to the end of the thread. At this point, it is good to have an assistant to help you as we need to fold the strands back on themselves. Have your assistant hold the strands approximately half-way along the length. Fold the strands in half, returning the end of the thread to the anchor point. With your assistant keeping tension on the half-way point, release the ribbon from the anchor point. Working a few inches at a time, release the strands and allow the sections to twist on each other, forming the twisted cord.
Once the entire length has twisted into a cord, secure the ends with a knot. This will stop the cord from unraveling.
Now, when you are twisting the strands, it is very easy for them to spring away from your hands, especially as you reach the end of the length of thread. When that happens, you are left with the tangle shown below.
To recover from this, check that there are no knots and then start twisting the strands again from the anchor point.Then follow the rest of the steps to finish your cord.
Twisted cords are fun to make and when you make your own, you can customise them to the project you are making. I use these cords for drawstrings in bags (such as my Jelly Roll Jewellery Pouch), cords for my scissor keepers, hanging loops on Christmas Decorations and also as trim on projects too.


No comments:
Post a Comment